How to Dismantle a Freestanding Wardrobe In 7 Steps
If you’re getting rid of an old wardrobe, chances are you’ll need to dismantle it first. In this 7-step guide, we’ll show you how to safely take apart a freestanding wardrobe, with tips for recycling, donating, or disposing of it responsibly.
But before we begin, decide if you want to dispose of it, recycle it, donate, or even sell it on. Here are some of your options:
• Book a bulky waste collection with your local authority (limited to curbside collections for specific items and dates).
• Hire a professional wardrobe removal service like Central Junk Ltd where we handle the dismantling and disposal for you.
• Take it yourself to a local recycling centre.
• Donate usable items to charity.
• Sell it or give it away online.
If you’ve decided to dismantle the wardrobe yourself, follow this guide to do it safely and efficiently.
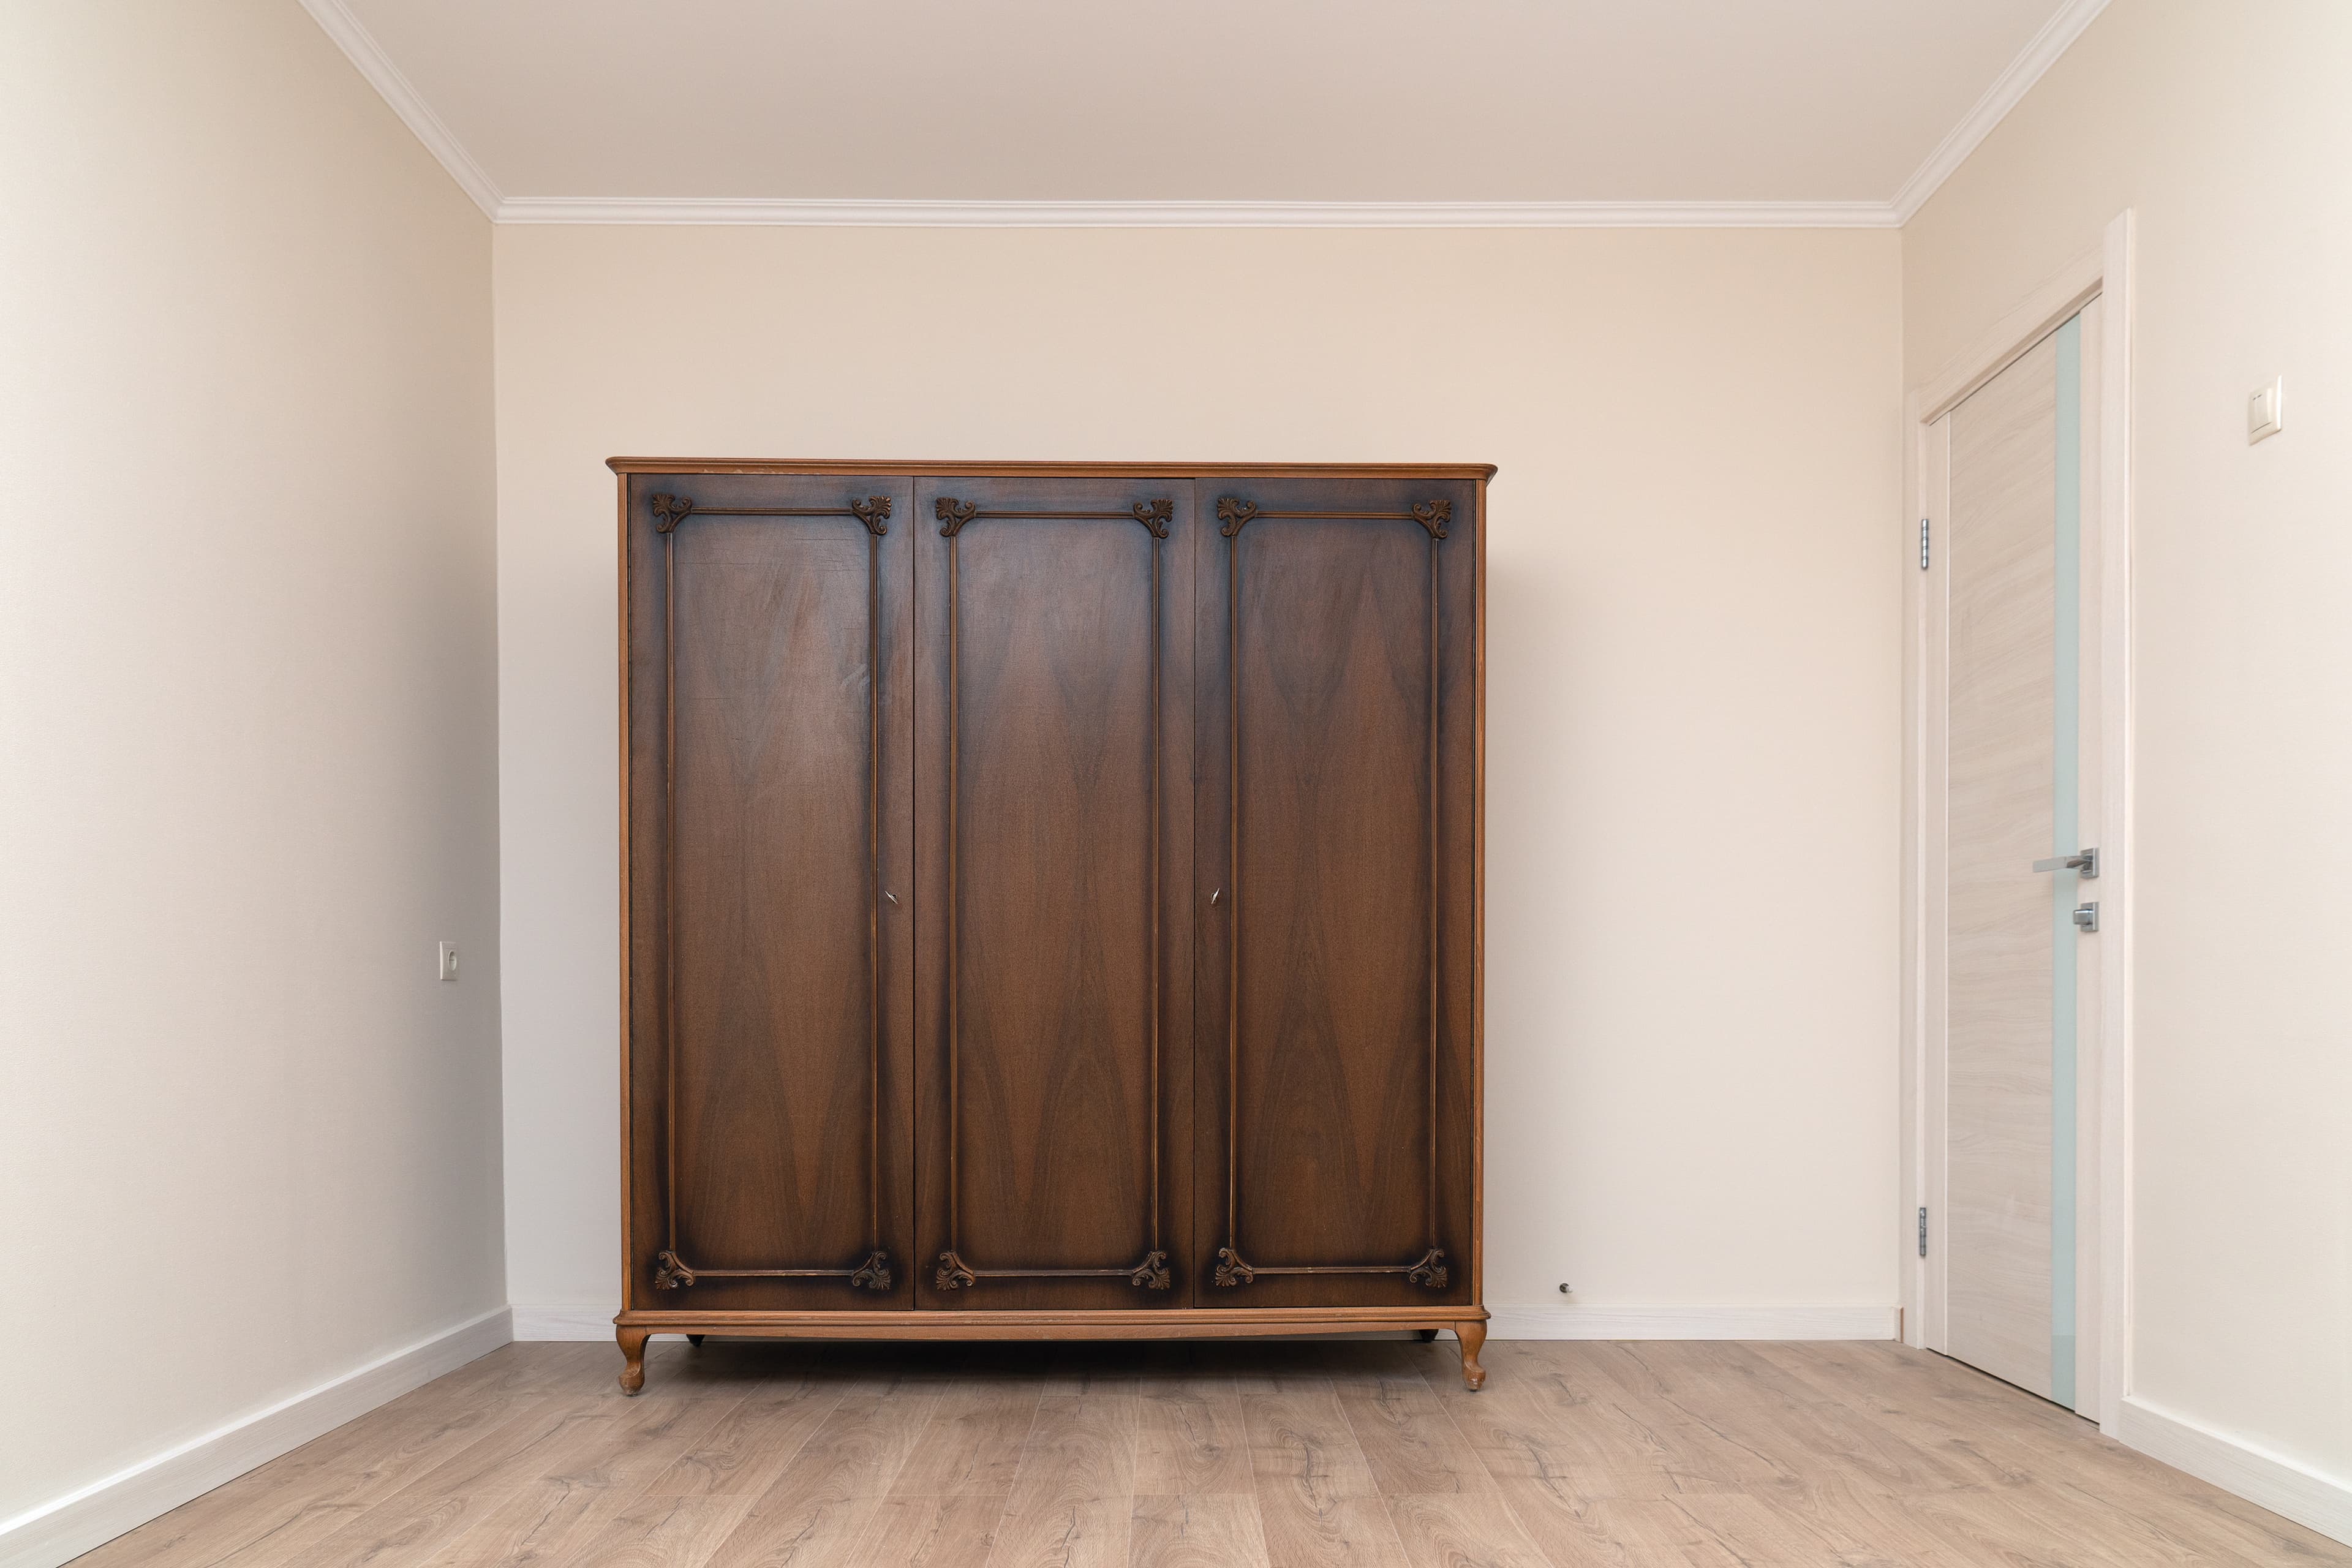
Step 1: Assess the Wardrobe
Before starting, evaluate how the wardrobe has been assembled. Ask yourself:
• Is it freestanding or built-in? (Built-in or fitted wardrobes generally require an experienced handyman to remove).
• How are the panels, doors, shelves, and hanging rails connected? Look around at the joints and indentify their fixings.
• Does it have mirrored doors or glass panels?
• Is it attached to a wall, ceiling, or floor?
If the wardrobe is fitted or built-in its worth getting a professional opinion on the removal before going any further. You can get in touch with our support for advice on this.
If it's attached to the wall, ceiling or floor, you may need additional tools to remove brackets or screws safely and without causing damage.
I't's also worth checking if you have the instructions it came with originally as you'll find an exact list of the tools requred for the task.
Common fixings in flat-pack furniture you might need tools for are:
• Cam locks: A small circular locking mechanism that secures panels together - These can be easily unfastened by turning a flathead screwdriver counter-clockwise until the arrow points to the connecting screw.
• Wood dowels: Small wooden pegs that reinforce joints - undone when joints are pulled apart.
• Regular Screws & bolts: Typically used in heavier joints - can be unscrewed with regular screwdrivers or a spanner for bolts.
• Small taks, pins or nails: Normally securing the back panel in place - Can usually be knocked out with a small hammer or soft mallet.
• Brackets and hinges: Used for securing doors, shelves or rails.
Also Remember Safety First: Before dismantling keep this in mind:
• Never dismantle a wardrobe alone. Ask a friend or family member for help.
• Ensure children and pets are kept away from the work area.
• Create a clear path to move dismantled pieces safely.
• Wear protective gloves and sturdy footwear to prevent injury.
Step 2: Gather the Right Tools
Having the correct tools at hand will make the rest of the process easier. You may have already indentified tools you need such as a screwdriver or small drill. If you haven't already heres a list of the tools you should now prepare to be used:
• Screwdrivers and or a small drill - Prepare both flathead and Phillips cross-shaped tip screwdrivers (or drill bit fittings if you are using a drill for faster dismantling)
• Allen keys (hex keys) - Some flat-pack furniture like thise from Ikea regularly use screw or bolts with hexaganol heads.
• Small hammer or soft mallet (preferably a claw hammer for removing nails or pins)
• Adjustable spanner or wrench (for nuts and bolts)
• Plastic bags or a container (for storing small fixings like screws, nails, and brackets)
• Thick blankets, cardboard, or bubble wrap (for protecting delicate parts like mirrored doors)
Step 3: Clear the Wardrobe
Start by removing all contents, including clothes, shelves, hanging rails, and drawers:
• Shelves: Most shelves sit on small plastic or metal pegs-simply lift them off.
• Hanging rail: Unscrew or pull the rail from its brackets.
• Drawers: Remove by pulling them out fully. Some may have a latch underneath that needs releasing.
Keep all screws, hinges, and brackets in a labelled bag if you plan to sell or donate the wardrobe.
Step 4: Remove the Doors
If your wardrobe has doors, remove them carefully:
• Hinged doors: Unscrew the hinges from the wardrobe frame while someone holds the door securely.
• Sliding doors: Remove any securing fixtures and lift the door upwards to detach it from the track.
• Mirrored doors: Place them carefully on a soft surface and avoid placing mirrors directly against each other. Use blankets or cardboard between them for protection.
Step 5: Dismantle the Back Panel
The back panel holds the structure together, so removing it first will make the rest of the dismantling easier.
• If nailed in, use the claw end of a hammer to gently pry it off.
• If screwed in, remove the screws with a drill or screwdriver.
• Once detached, remove any remaining nails or screws from the panel.
• If nailed in, use the claw end of a hammer to gently pry it off.
• If screwed in, remove the screws with a drill or screwdriver.
• Once detached, remove any remaining nails or screws from the panel.
Step 6: Remove the Top, Side, and Bottom Panels
• Start with the top panel, unscrewing it from the side panels while someone supports it.
• Next, remove the side panels, which are often fixed to the bottom panel with cam lock fasteners (the circular pieces that lock screws in place). Use a screwdriver to loosen these.
• Finally, remove the bottom panel.
• Next, remove the side panels, which are often fixed to the bottom panel with cam lock fasteners (the circular pieces that lock screws in place). Use a screwdriver to loosen these.
• Finally, remove the bottom panel.
Step 7: Organise and Store the Dismantled Parts
Depending on your disposal plan:
• If selling or donating, stack the parts neatly and store all screws, bolts, and fixings in a small container or plastic bag.
• If disposing, keep the area clear and separate wood, metal, and other materials for recycling where possible.
By following this guide, you should be able to safely dismantle a freestanding wardrobe.
If you are unsure about any point in this guide or for expert advice and professional dismantling services, contact our customer support team or call 020 3923 3679
Keep Reading
Related Posts
How To Dismantle A Bed

How To Declutter Your Home In 2025